
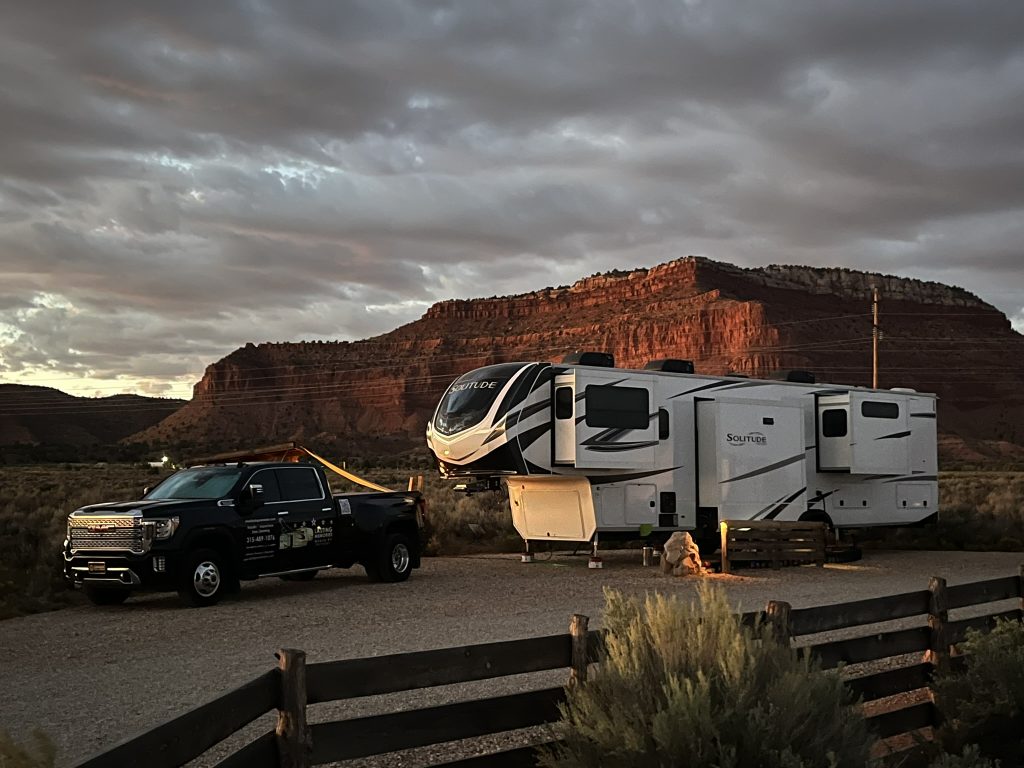
🚐 As the winter chill fades and spring blooms, RV enthusiasts across the country are itching to hit the open road. But before you can embark on your next adventure, there’s a crucial task at hand: dewinterizing your RV. This process may seem daunting, but with the right approach, you’ll have your home-on-wheels ready for action in no time.
Imagine arriving at your favorite campsite, only to discover your water system is still frozen, or worse, damaged from improper storage. Picture the disappointment of a malfunctioning electrical system just when you’re settling in for a cozy movie night under the stars. These scenarios are all too common for RV owners who skip the essential dewinterization process. But fear not! We’ve got you covered with a comprehensive guide to bring your RV out of hibernation and back to life.
In this blog post, we’ll walk you through every step of dewinterizing your RV, from gathering the necessary tools to stocking up for your first trip. You’ll learn how to inspect your exterior, revive your water system, prepare your electrical and propane systems, and ensure your HVAC is ready for those balmy summer nights. So, grab your toolkit and let’s get your RV road-ready for an unforgettable season of exploration and memories! 🛠️🏕️
Gather Necessary Tools and Materials
Essential tools for dewinterization
To successfully dewinterize your RV, you’ll need a specific set of tools. Here’s a comprehensive list of essential items:
- Water pump
- Wrench set
- Screwdriver set
- Pliers
- Multimeter
- Pressure gauge
- Antifreeze hand pump
Safety equipment checklist
Ensuring your safety during the dewinterization process is crucial. Use this checklist to prepare:
| Safety Item | Purpose |
| Safety glasses | Protect eyes from debris and chemicals |
| Work gloves | Safeguard hands during maintenance tasks |
| Flashlight | Illuminate dark spaces for inspection |
| First aid kit | Address minor injuries if they occur |
| Fire extinguisher | Safety precaution for electrical work |
Cleaning supplies overview
A thorough cleaning is an essential part of dewinterization. Here’s an overview of cleaning supplies you’ll need:
- All-purpose cleaner
- Disinfectant spray
- Microfiber cloths
- Sponges
- Bucket
- Soft-bristled brush
- Vacuum cleaner (preferably handheld)
These cleaning supplies will help you remove dust, dirt, and any potential mold that may have accumulated during winter storage. Remember to pay special attention to the water system components, as they require sanitization before use.
Now that we’ve covered the necessary tools, safety equipment, and cleaning supplies, let’s move on to inspecting your RV’s exterior for any winter damage.
Inspect Your RV Exterior
Check for winter damage
Before hitting the road, it’s crucial to assess any potential damage your RV may have sustained during the winter months. Start by conducting a thorough visual inspection of the exterior, paying close attention to:
- Roof seams and sealants
- Window and door seals
- Exterior panels and trim
- Awnings and slide-outs
Look for signs of cracking, peeling, or separation in sealants and seams. Address any issues promptly to prevent water infiltration and further damage.
Clean and maintain exterior surfaces
After inspecting for damage, give your RV a thorough cleaning to remove winter grime and protect its surfaces:
- Wash the exterior with RV-specific cleaner
- Apply wax to protect the finish
- Clean and lubricate awning mechanisms
- Treat rubber seals with protectant
| Surface | Cleaning Method | Protective Treatment |
| Fiberglass | Mild soap, soft brush | RV wax |
| Metal | Aluminum cleaner | Oxidation remover |
| Rubber seals | Silicone-based cleaner | Rubber conditioner |
Examine tires and wheels
Proper tire maintenance is essential for safe travels. Follow these steps:
- Check tire pressure and adjust to manufacturer’s specifications
- Inspect tires for cracks, bulges, or uneven wear
- Rotate tires if necessary
- Examine wheel lug nuts and tighten if needed
Test exterior lights and accessories
Ensure all exterior lighting and accessories are functioning correctly:
- Headlights, taillights, and turn signals
- Brake lights and running lights
- Awning lights and outdoor entertainment systems
- Electric steps and leveling jacks
Replace any burnt-out bulbs and address electrical issues before your first trip. With your RV’s exterior inspected and maintained, you’re ready to move on to dewinterizing the water system for a smooth start to the camping season.
Dewinterize the Water System
Flush antifreeze from pipes
Begin by locating the water heater bypass valve and setting it to the normal operating position. Next, connect a garden hose to your RV’s city water inlet and turn on the water supply. Open all faucets, including hot and cold taps, as well as the outside shower if applicable. Let the water run until it’s clear and free of antifreeze.
Clean and sanitize fresh water tank
Once the pipes are flushed, it’s time to sanitize the fresh water tank:
- Mix 1/4 cup of bleach per 15 gallons of tank capacity
- Pour the solution into the tank and fill with fresh water
- Run all faucets until you smell bleach
- Let the solution sit for at least 4 hours
- Drain the tank and refill with fresh water
- Run all faucets until the bleach smell is gone
Check for leaks in plumbing
After flushing and sanitizing, inspect all visible plumbing connections for leaks:
| Area to Check | What to Look For |
| Faucets | Drips or puddles |
| Toilet | Water at base |
| Shower | Wet walls/floor |
| Under sinks | Moisture or drops |
Replace water filter
Lastly, install a new water filter to ensure clean, fresh-tasting water throughout your RV. Choose a filter that’s compatible with your RV’s system and follow the manufacturer’s instructions for installation.
With the water system dewinterized, you’re one step closer to hitting the road. Next, we’ll focus on preparing the electrical system to ensure all your appliances and devices are ready for use.
Prepare the Electrical System
Inspect and clean battery connections
Before hitting the road, it’s crucial to ensure your RV’s electrical system is in top shape. Start by inspecting and cleaning the battery connections. This simple task can prevent power issues and extend battery life.
- Remove corrosion:
- Use a wire brush to clean terminals
- Apply a baking soda and water solution
- Rinse with clean water and dry thoroughly
- Check for loose connections:
- Tighten terminal clamps
- Ensure cables are securely fastened
- Apply protective coating:
- Use battery terminal protector spray
- Alternatively, apply petroleum jelly
| Battery Maintenance Task | Frequency |
| Visual inspection | Monthly |
| Cleaning connections | Quarterly |
| Water level check* | Monthly |
| Load test | Annually |
*For non-sealed batteries only
Check out the blog: https://lastingmemoriesrv.com/maintenance-tip-monday-maintaining-rv-batteries/
Test appliances and outlets
With clean battery connections, it’s time to test your RV’s appliances and outlets. This step ensures all electrical components are functioning correctly after winter storage.
- Test major appliances:
- Refrigerator
- Microwave
- Air conditioner
- Water heater
- Check all outlets:
- Use a circuit tester
- Test both AC and DC outlets
- Verify lighting systems:
- Interior lights
- Exterior lights (including signal and brake lights)
Check circuit breakers and fuses
Lastly, inspect your RV’s circuit breakers and fuses. These components protect your electrical system from overload and short circuits.
- Locate the electrical panel
- Visually inspect breakers for signs of damage
- Test each breaker by switching it off and on
- Replace any blown fuses with the correct amperage
Remember, if you’re unsure about any electrical work, it’s best to consult a professional RV technician. With your electrical system properly prepared, you’re one step closer to enjoying your upcoming RV adventures. Next, we’ll look at how to ready your propane system for safe and efficient use.
Check out our blog on Essential RV Electric Maintenance Tips: https://lastingmemoriesrv.com/maintenance-tip-monday-essential-rv-electric-maintenance-tips/
Ready the Propane System
Examine propane tanks and connections
Before hitting the road, it’s crucial to ensure your RV’s propane system is safe and functional. Start by carefully inspecting the propane tanks and connections:
- Check for visible damage or corrosion
- Ensure all fittings are tight and secure
- Look for signs of leaks (e.g., hissing sounds or propane odor)
- Verify the expiration date on tanks and replace if necessary
| Inspection Point | Action Required |
| Tank condition | Replace if damaged or expired |
| Fittings | Tighten if loose |
| Leaks | Call professional if detected |
| Regulator | Clean and check for proper operation |
Test propane-powered appliances
Once you’ve confirmed the tanks and connections are in good condition, it’s time to test your propane-powered appliances:
- Turn on the propane supply
- Light each appliance individually (stove, oven, water heater, etc.)
- Check for proper flame color and strength
- Listen for unusual noises or irregular operation
Refill propane tanks if necessary
After testing your appliances, assess your propane levels:
- Use a propane gauge to check tank levels
- Refill tanks if they’re below 80% capacity
- Consider keeping a spare tank for emergencies
Remember, proper propane system maintenance is essential for both safety and comfort during your RV adventures. With your propane system ready, let’s move on to preparing the HVAC system for optimal performance.
Prepare the HVAC System
Clean air conditioning filters
Maintaining clean air conditioning filters is crucial for optimal HVAC performance in your RV. Start by locating the filters, which are typically found behind the return air grille. Remove them carefully and inspect for any visible dirt or debris. For reusable filters, clean them thoroughly with warm, soapy water and allow them to dry completely before reinstalling. If you have disposable filters, replace them with new ones of the same size and type.
Inspect furnace and vents
Next, turn your attention to the furnace and vents. Begin by visually inspecting the furnace for any signs of damage, rust, or debris. Clean the furnace area gently with a vacuum or soft brush. Check all vents throughout the RV for obstructions and clean them as needed. Ensure that the furnace exhaust vent on the RV’s exterior is clear of any debris or insect nests.
Test heating and cooling functions
Finally, it’s time to test your HVAC system’s functionality. Here’s a step-by-step process:
- Turn on the air conditioning
- Check for cool air output
- Monitor for unusual noises
- Switch to heating mode
- Verify warm air production
- Listen for any abnormal sounds
| Function | What to Check | Potential Issues |
| Cooling | Cold air flow | Weak output, strange odors |
| Heating | Warm air flow | Inconsistent heat, burning smell |
| Both | Noise levels | Rattling, whistling, grinding |
With your HVAC system properly prepared, you can ensure a comfortable temperature in your RV throughout your travels. Next, we’ll move on to stocking and organizing your RV for the upcoming season.
As the winter season fades away, it’s time to prepare your RV for adventures on the open road. Dewinterizing your RV involves several crucial steps, from inspecting the exterior to readying the water, electrical, propane, and HVAC systems. By following these steps and gathering the necessary tools and materials, you can ensure your RV is in top condition for the upcoming travel season.
Remember, proper dewinterization is essential for maintaining your RV’s longevity and ensuring a safe, enjoyable experience during your trips. Take the time to thoroughly check each system and address any issues you may find. With your RV fully dewinterized and ready to go, you can hit the road with confidence, knowing that your home away from home is prepared for whatever adventures lie ahead.
Lasting Memories Mobile RV Services is at Keystone Heights RV Resort in Florida. We will be servicing Keystone Heights, Bradford & Clay County Florida and the surrounding areas. Schedule your tank cleaning, repair and maintenance appointment now.